2 Easy Processes to Install Pandas on Windows (pip & Anaconda).
Installing Python Pandas on Windows
Here, we are going to discuss the two processes to install pandas on Windows-
- With pip
- With anaconda
1.1 How to install pandas using pip?
If you are using the latest version of Pandas, you will have pip already installed on your system. Therefore you need not follow from step 1 to 5. For users who don’t have the latest version of Python (3.7.3), they should upgrade it.
Step-1
First head over to https://www.python.org and click on Downloads on the Navigation.
Step-2
Be sure to download the latest version of the Python. Version 3.7.3, in this case.
Step-3
On running the downloaded installer, you will get this window. Click on ‘Install Now’.
Step-4
After finishing the installation, it is recommended to choose the option to disable path length to avoid any problems with your Python installation.
Step-5
Now that Python is installed, you should head over to our terminal or command prompt from where you can install Pandas. So go to your search bar on your desktop and search for cmd. An application called Command prompt should show up. Click to start it.
Step-6
Type in the command “pip install manager”. Pip is a package install manager for Python and it is installed alongside the new Python distributions.
Step-7
Wait for the downloads to be over and once it is done you will be able to run Pandas inside your Python programs on Windows.
1.2. How to install pandas using Anaconda?
It is highly recommended that beginners should use Anaconda to install Pandas on their system. Installing Anaconda is not only very easy, but it also gives you access to various other tools.
Step-1
Head over to https://www.anaconda.com, Once you are there, click on the Download button on the top right corner of the screen.
Step-2
In the downloads page, scroll down until you see the download options for windows. Click on the download button for python 3.7. This will initiate a download for the anaconda installer.
Step-3
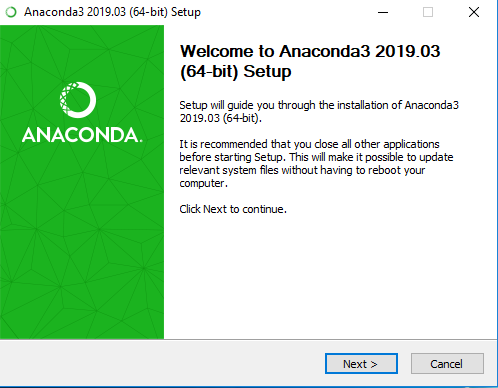
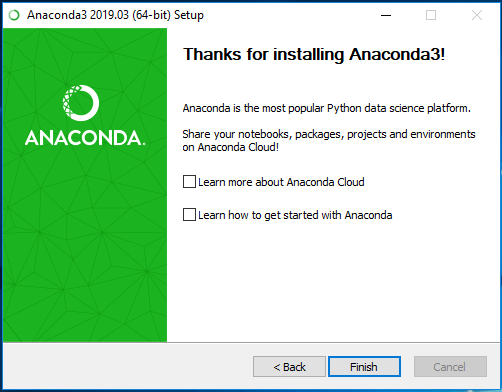
Follow through the instructions for installing as shown in the next few images. Choose any destination folder according to your liking and uncheck “Add anaconda to my PATH environment variable.”
Step-4
Once the installation is finished you can have access to Pandas on your system. Anaconda installs all important libraries for you.
Step-5
Jupyter Notebook(Optional): Most Machine Learning projects are covered in jupyter notebooks, therefore, it is important to know how to use it.
First, go to to your program files in the start menu and find “Anaconda Navigator”. Once you enter the program, you will be greeted with a similar screen as shown below. Launch Jupyter Notebooks.
Step-6
Once you click on Launch for Jupyter Notebook, it will automatically open a browser window and will show the following page. Click on new and then on “Python 3”
Step-7
Once you choose “python 3”, it will take you to a new tab, where you can start coding at once.